Hello and welcome to Youzify Tutorials. This is first tutorial and in this guide I’ll show you how to install youzify plugin in your wordpress website. Before installing youzify, I’ll install buddypress plugin and show you the differences between default buddypress looks and after youzify installations look.
Step 1 : Go to plugins and click add new.
Step 4 : Go to dashboard of wordpress. Click appearance, then click customize and set static page “Activity” as home page.
Step 5 : See the site. This is just a basic buddypress installed site. You have not installed youzify till now. Now, let’s install youzify plugin for wordpress and see the difference.
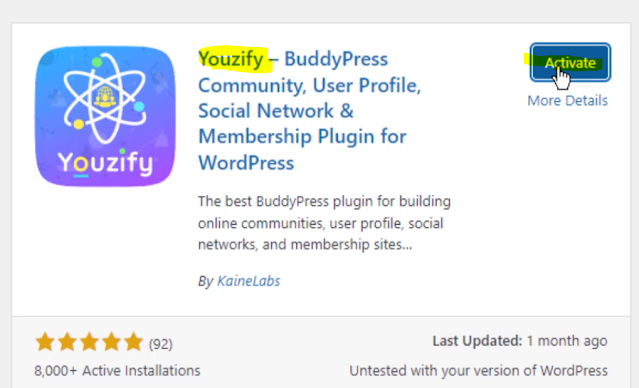
Step 6 : Go to plugins, add new, and then search “youzify”. Then install and activate youzify plugin.
Step 7 : Now see the site. And notice the difference between initial budypress site and site after youzify installation.
Till now, you’ve known on how to install youzify plugin in your wordpress based site.
Video Tutorial Step by Step Below.


Comments